How to Install OpenJDK 21 on AlmaLinux 10
Introduction
Java 21 is the latest Long-Term Support (LTS) release of the Java platform. It introduces performance improvements, virtual threads, enhanced pattern matching, and long-term maintenance support.
This guide explains how to install OpenJDK 21 on AlmaLinux 10 and verify that the installation is working correctly.
Prerequisites
Before starting, ensure that:
- You are running AlmaLinux 10.
- You have sudo or root privileges.
- Your system packages are up to date.
Update the system:
Check Available Java Packages
Search for available Java packages:
You should see OpenJDK 21 packages in the repository.
Install OpenJDK 21
Install Java 21:
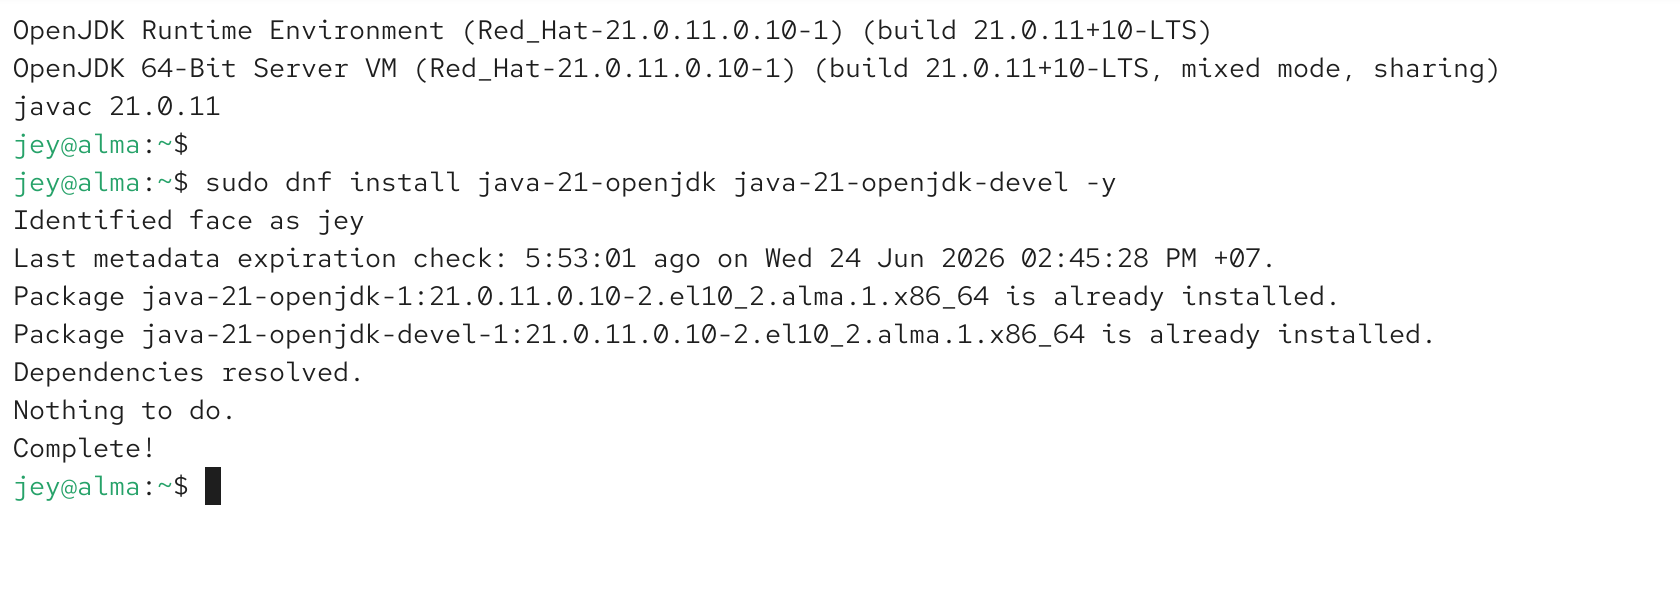
The package includes:
- Java Runtime Environment (JRE)
- Java Development Kit (JDK)
- Compiler tools such as javac
Verify the Installation
Check the Java version:
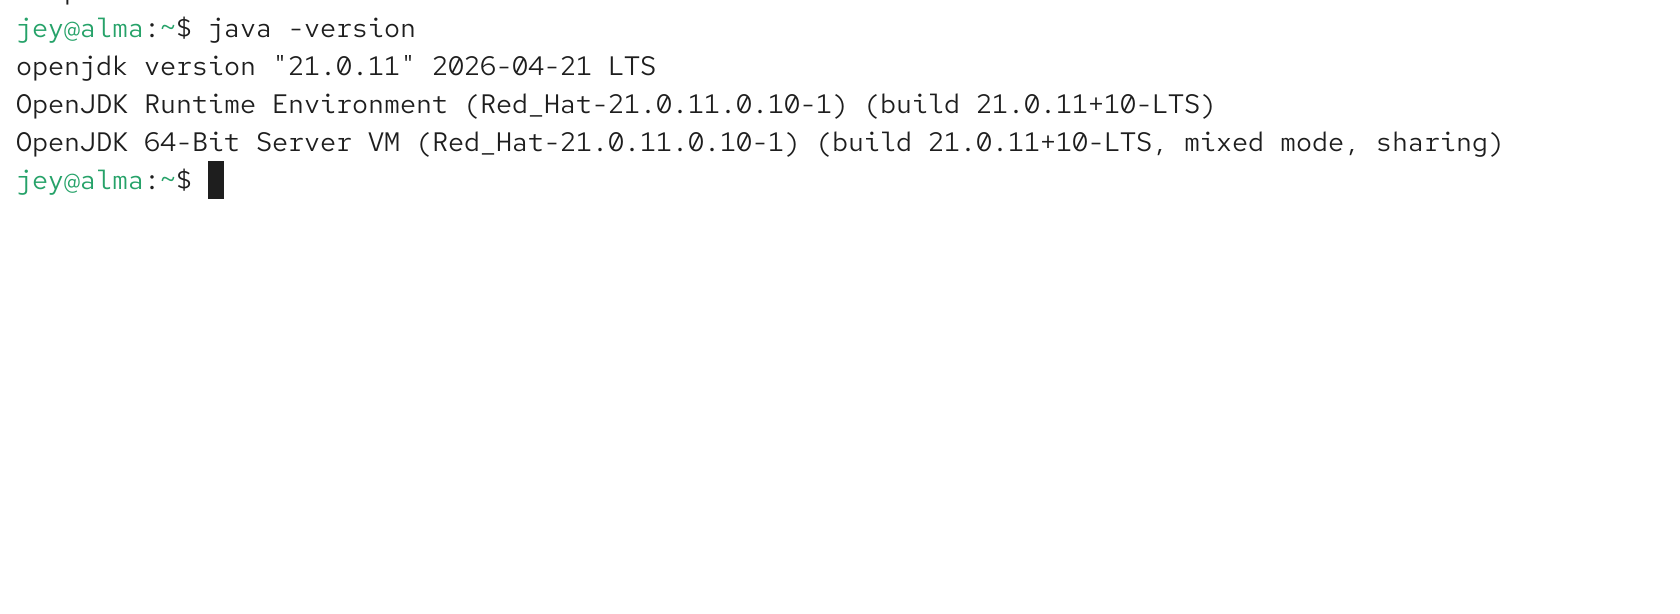
Example output:
Verify the compiler:
Expected output:
Locate the Java Installation Directory
Display the Java binary path:
Find the actual installation location:
Typical installation path:
Configure JAVA_HOME
Most applications can automatically detect the Java installation path. However, some enterprise software may still require JAVA_HOME to be configured manually.
Open the profile file:
Add the following lines:
Apply the changes:
Verify:
Test Java
Create a test file:
Insert:
Compile:
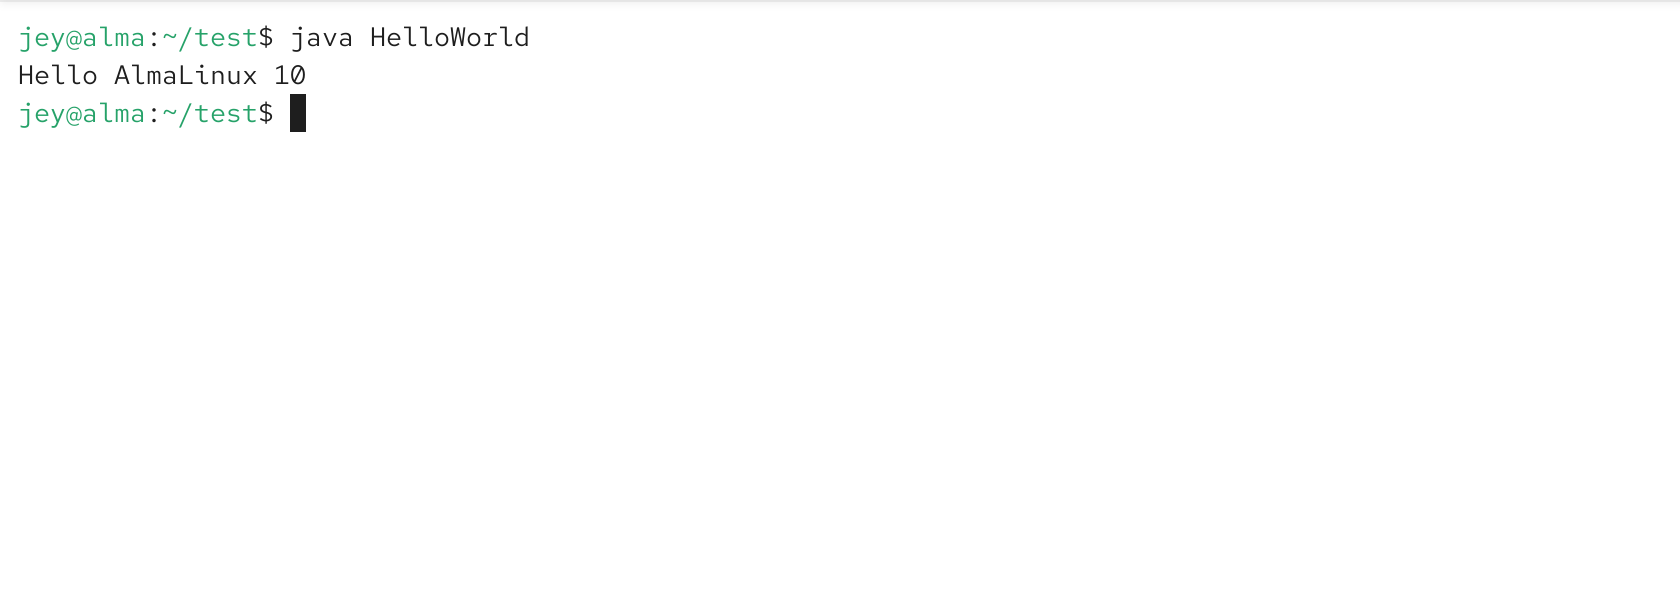
Run:
Output:
Conclusion
Installing OpenJDK 21 on AlmaLinux 10 is straightforward using the default DNF repositories. After installation, verify the Java version, configure JAVA_HOME if needed, and run a simple program to confirm that the environment is working correctly.
Related AlmaLinux 10 Tutorials
How to Install Maven on AlmaLinux 10
Explore More
› Java 21 Virtual Threads vs Java 17 Thread Pools in Swing Applications