How to Install Maven on AlmaLinux 10
Introduction
Apache Maven is one of the most popular build automation and dependency management tools for Java applications. It simplifies project builds, dependency downloads, testing, and packaging.
This guide explains how to install Maven on AlmaLinux 10 and verify that it is working correctly.
Prerequisites
Before installing Maven, ensure that Java is already installed on your system.
Check the Java version:
If Java is not installed, refer to:
- How to Install OpenJDK 21 on AlmaLinux 10
Update System Packages
Update the package repository metadata:
Install Maven
Install Maven using DNF:
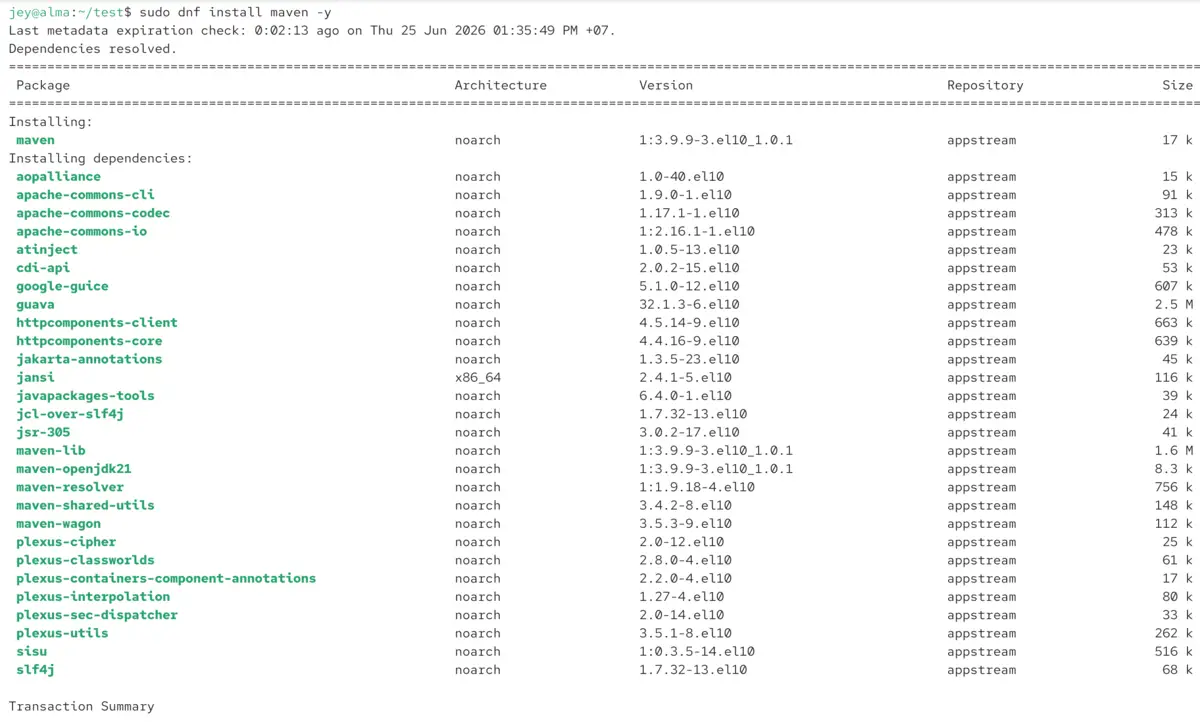
The installation will automatically download all required dependencies.
Verify the Installation
Check the installed Maven version:
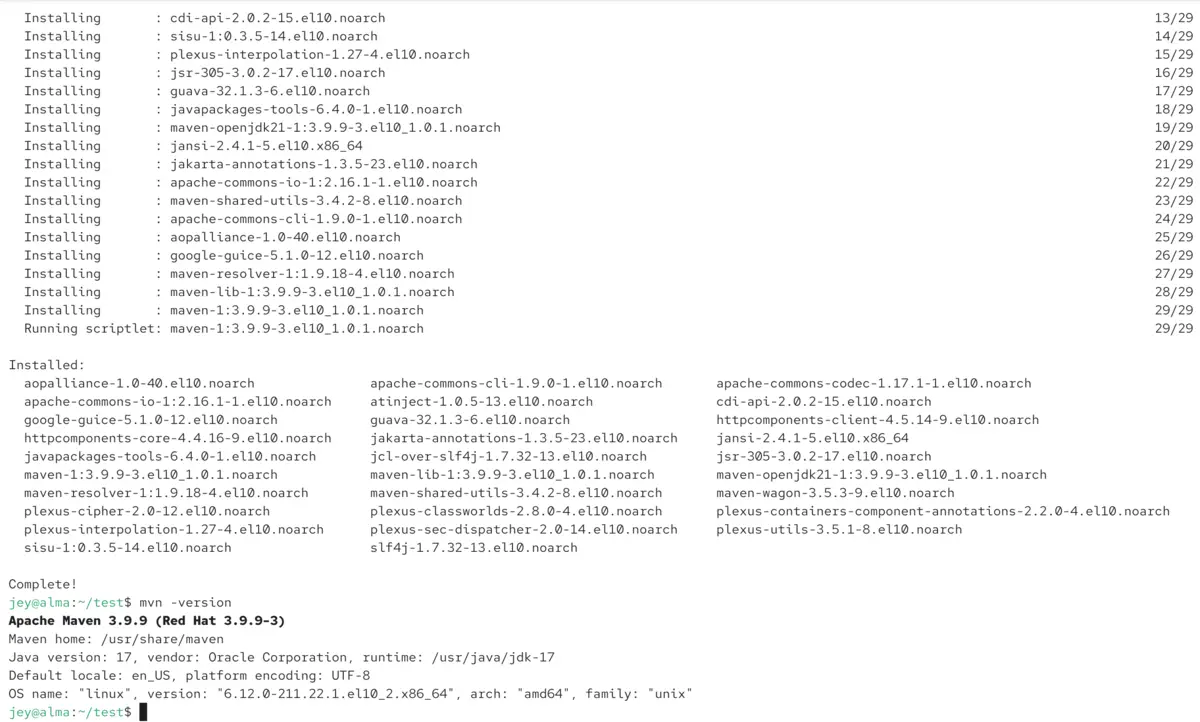
Example output:
This confirms that Maven is correctly installed and can locate the Java runtime.
Locate the Maven Installation Directory
Display the Maven executable location:
Find the actual path:
Typical output:
Create a Test Maven Project
Generate a simple Maven project:
Move into the project directory:
Build the Project
Compile and package the application:
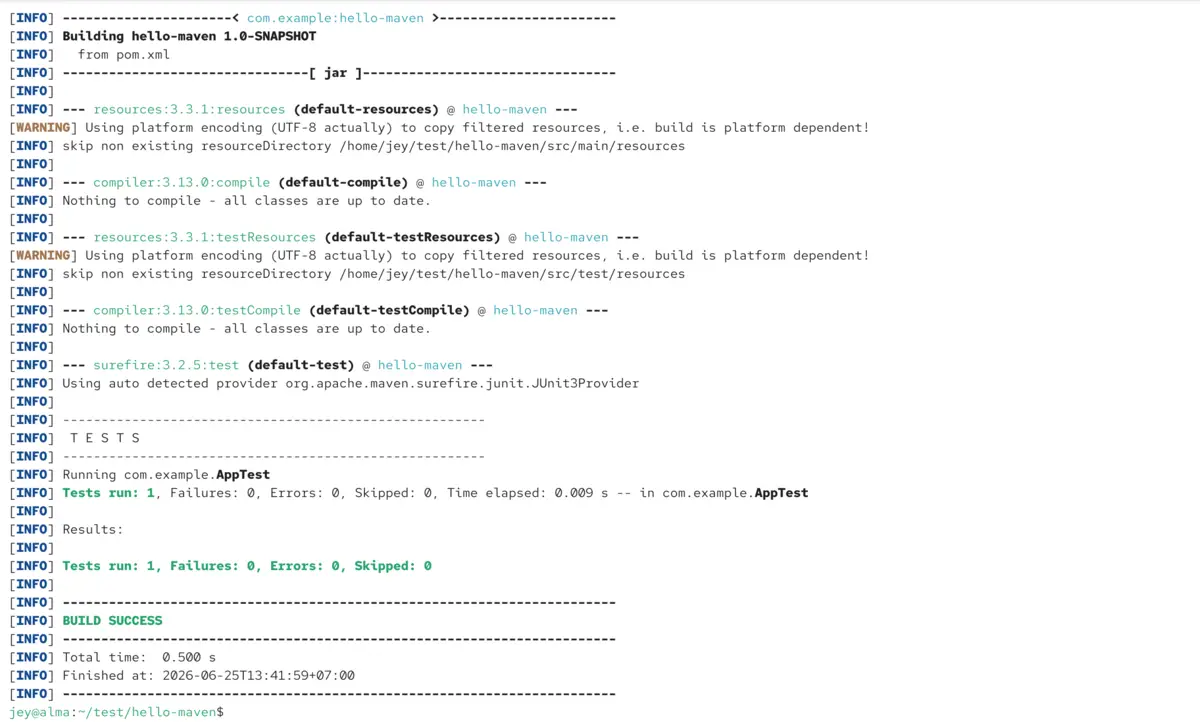
If the build succeeds, Maven will create a target directory containing the generated JAR file.
Run Maven Tests
Execute unit tests:
Where Does Maven Store Downloaded Dependencies?
By default, Maven stores downloaded dependencies in the local repository:
To display the current repository location:
If all tests pass, Maven will display a BUILD SUCCESS message.
Uninstall Maven
To remove Maven:
Verify removal:
To remove Maven repository:
You should receive a command not found error.
Conclusion
Installing Apache Maven on AlmaLinux 10 is straightforward using the default DNF repositories. Once installed, Maven can manage project dependencies, automate builds, and simplify Java application development.
Related AlmaLinux 10 Tutorials
How to Install OpenJDK 21 on AlmaLinux 10