How to Install Git on AlmaLinux 10
Introduction
Git is the most widely used distributed version control system for software development. It allows developers to track code changes, collaborate with teams, and manage project history efficiently.
This guide explains how to install Git on AlmaLinux 10, verify the installation, and perform basic configuration.
Update System Packages
Before installing Git, update the package metadata:
Install Git
Install Git using DNF:
The package manager will automatically download and install all required dependencies.
Verify the Installation
Check the installed Git version:
Example output:
This confirms that Git has been installed successfully.
Configure Git Username and Email
Before creating commits, configure your identity.
Set your username:
Set your email address:
Verify the configuration:
Example output:
Create a Test Repository
Create a directory:
Initialize a Git repository:
Expected output:
Create and Commit a File
Create a file:
Add the file:
Create the first commit:
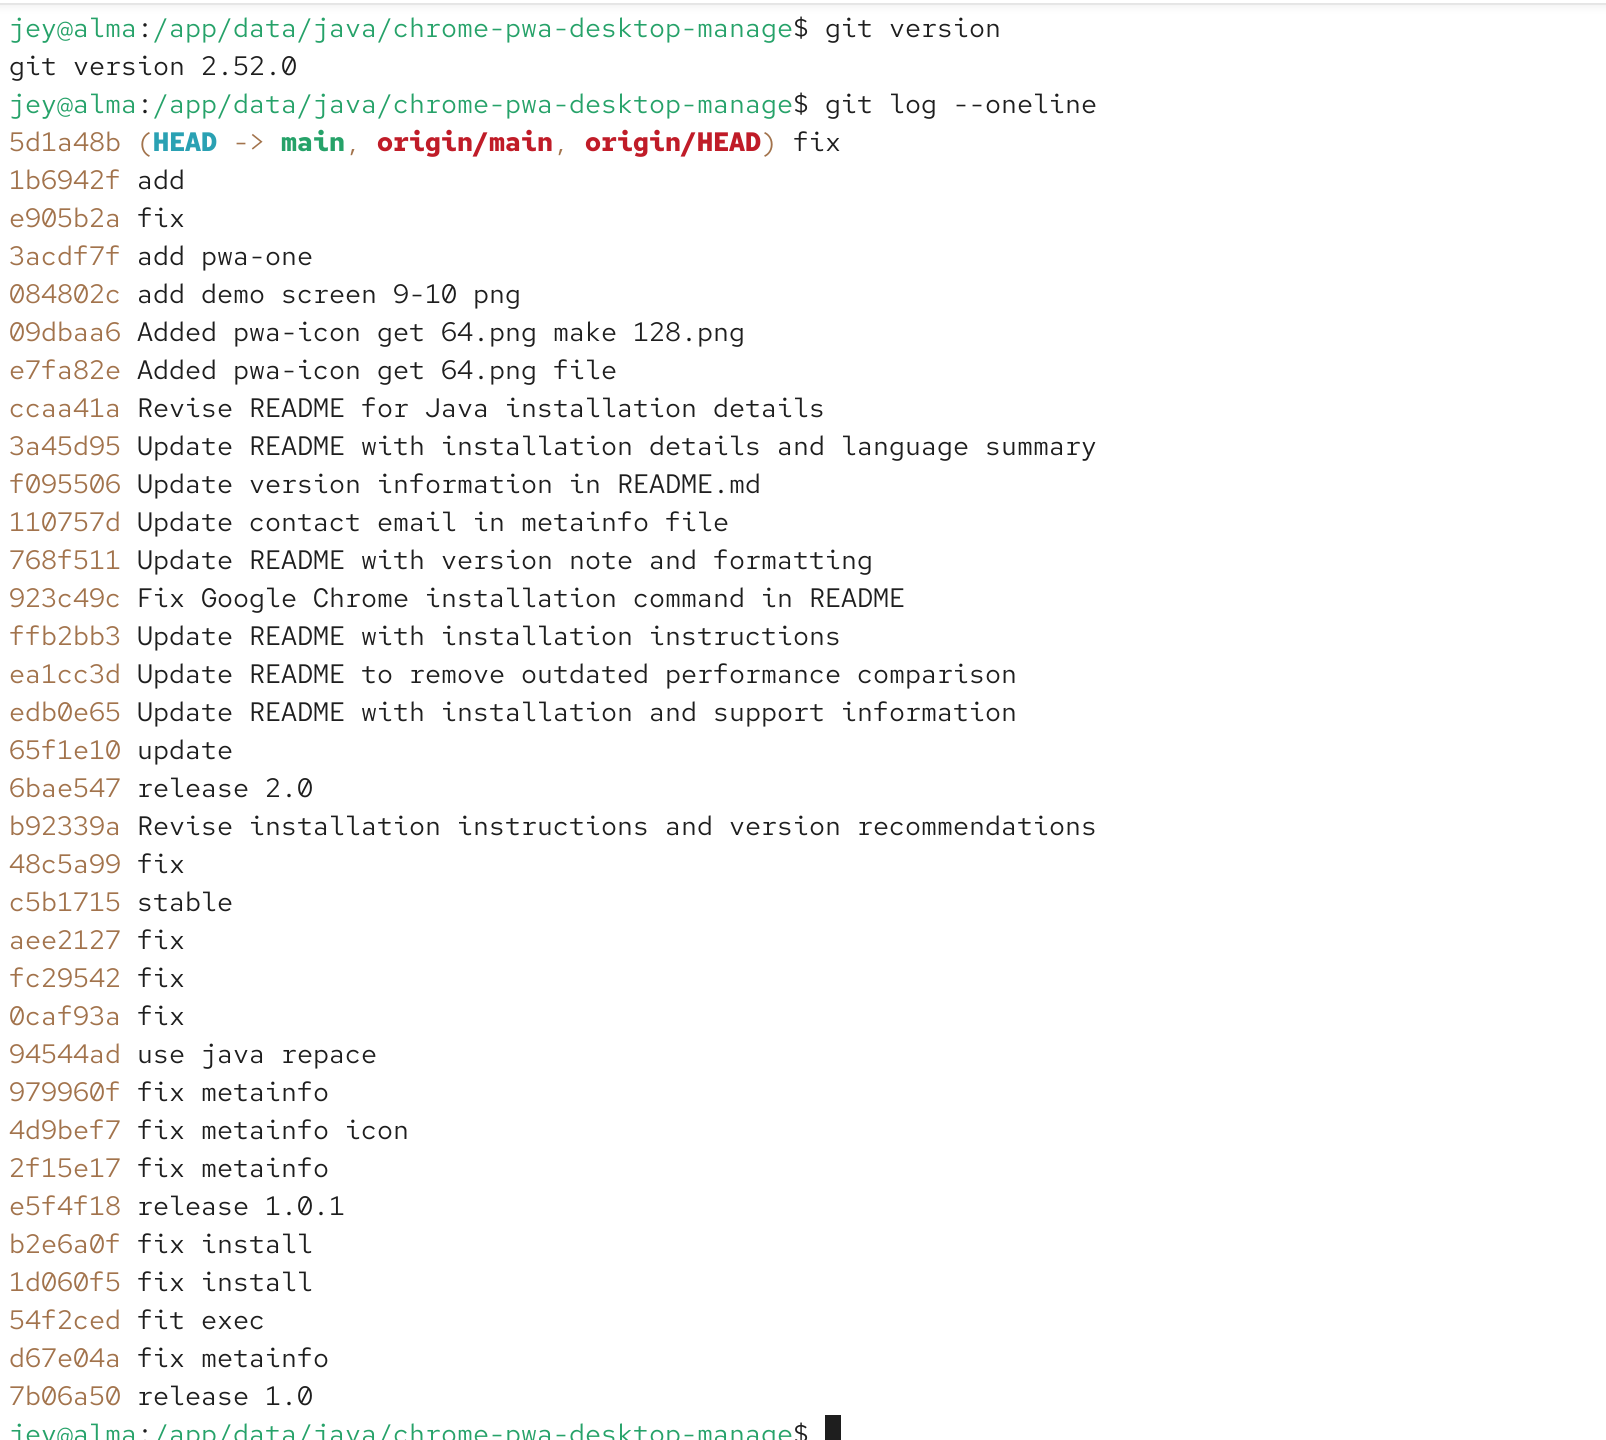
View commit history:
Clone a Remote Repository
Clone an existing repository:
After cloning, Git will download the repository contents into a local directory.
Display Current Git Configuration
To display all Git settings:
To display the configured username:
To display the configured email:
Remove Git Configuration
Remove the configured username:
Remove the configured email:
Uninstall Git
Remove Git from AlmaLinux 10:
Verify removal:
You should receive a command not found error.
Conclusion
Installing Git on AlmaLinux 10 is straightforward using DNF. After installation, configure your username and email, create a repository, and start tracking project changes with Git.
Related AlmaLinux 10 Tutorials
How to Install OpenJDK 21 on AlmaLinux 10